

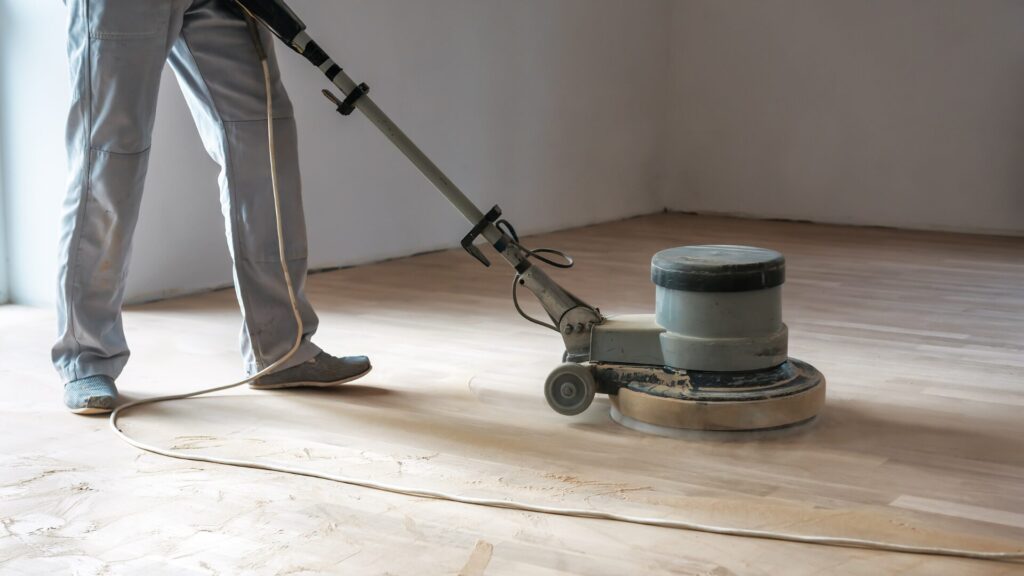
Sanding wooden floors is one of those DIY projects that looks straightforward from a distance and turns out to have a surprising number of ways to go wrong. We’ve had customers come back with questions — and occasionally slightly stressed phone calls — after jumping in without enough preparation.
So here’s what we wish more people knew before they collected their floor sander from us.
What Kind of Floor Sander Do You Need?
For most wooden floor sanding jobs, you need two machines: a main belt or drum sander for the central areas of the floor, and an edge sander (sometimes called an edger) for the sections up against the skirting boards that the main sander can’t reach.
Our floor sanding equipment covers both, and we can advise on the right specification for your floor type and finish when you collect or call ahead.
Preparation: The Bit Most People Rush
The prep work on a floor sanding job is at least as important as the sanding itself. Before you start:
- Punch all nail heads below the surface — a nail head that’s even slightly proud of the surface will tear through your sanding belt and potentially damage the machine
- Check for loose boards and screw or nail them down — a board that lifts during sanding will catch the belt and can cause real damage to the floor
- Fill any significant gaps if you want a smooth result — filler applied before the final sand gives a much better finish than gaps left open
- Clear the room completely — floor sanding produces a significant amount of very fine dust. Modern machines have dust bags, but these capture perhaps 70–80% of it. Seal doorways with tape and old sheets before you start
- Open windows in the room you’re sanding but seal other rooms — cross-ventilation helps, but you don’t want dust spreading through the house
Start Coarse, Finish Fine
Floor sanding requires working through progressively finer sandpaper grades. A rough floor in poor condition typically starts at 36 or 40 grit and works through 60, 80 and 100 or finer depending on the finish. Jumping too quickly to fine paper leaves scratches from the coarser grades visible under the finish — which is the most common reason sanded floors look disappointing.
On the first pass with coarse paper, work diagonally across the room — this removes material evenly across the grain and avoids creating grooves along the boards. Subsequent passes go with the grain.
Keep Moving
The most important thing to know about operating a belt or drum floor sander is this: never stop moving. The moment a drum sander is stationary on a running drum, it will sand a hollow into the floor that you’ll then spend considerable effort trying to remove. Lower the drum, move forward, raise it before you stop.
This sounds obvious once you know it, but it catches people out the first time.
Finishing the Floor
Once sanding is complete, vacuum thoroughly, then wipe with a slightly damp cloth and allow to dry completely before applying your finish. Oil, wax, varnish and hardwax-oil all have different application requirements — make sure you know what you’re using before you start.
Hire a Floor Sander from Olympus in Newton Abbot
We stock floor sanding equipment at our Newton Abbot depot and can advise on the right setup for your project when you get in touch. Call us on 01626 333823 / 01626 332059 or email hire@olympustoolhire.co.uk.
📍 Unit 21, Olympus Business Park, Kingsteignton Rd, Newton Abbot TQ12 2SNMon–Fri 7:30–5pm | Sat 7:30–10am
COMPANION EMAIL
Subject: Restoring your floors this spring? Read this first 🪵
Hi,
Spring is a popular time to tackle wooden floor restoration, and floor sander hire is one of our most popular seasonal bookings. It’s a project that gets brilliant results — when you know what you’re doing going in.
When you’re ready, our Newton Abbot depot stocks floor sanding equipment for collection or delivery across South Devon.
📍 Unit 21, Olympus Business Park, Kingsteignton Rd, Newton Abbot TQ12 2SN📞 01626 333823 / 01626 332059 | hire@olympustoolhire.co.ukMon–Fri 7:30–5pm | Sat 7:30–10am